
Kaushal Shah
“It seems as though inspiration strikes at the most unlikely times”
Your Problem Statement?
If you are here, you are probably working on a NodeJS application and are wondering how do I enable my app to send emails automatically.
For Devs and Automation Engineers, in specificity, what you are looking for is how to have your reports be attached and are in your stakeholder’s inboxes without human intervention? If this is indeed what you are looking for, well you are reading the right article.
Introduction:
In this article, we are going to talk about how to use Mailgun to send emails (free with limits!) from a NodeJS app. Furthermore, we will be talking about Nodemailer which does the fabulous job of handling all behind the scene good stuff to send these emails and finally and my personal favourite, Handlebars to help with HTML templating of the email body.
First things first, let’s get you set up with a Mailgun account:
Let’s head to Mailgun’s sign up page and get ourselves an account (Free, of course). You’ll see that they request you to add your credit card info, but don’t worry they won’t charge you unless you hit their cap of 5000 emails/month.
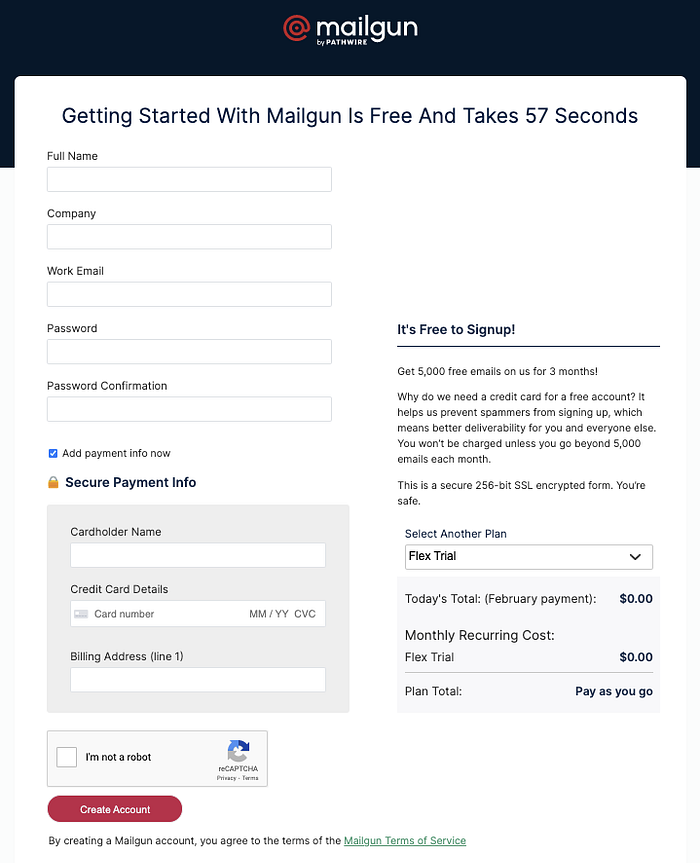
If you are not comfortable adding your credit card details, no worries, you could still go ahead and sign up with them. Just toggle the checkbox Add payment info now.

Once you are through this form, you’ll be requested to verify your email, so please do that.
If everything went smooth, you now should have a Mailgun account and are all set to start shooting those free emails. Now you just need a li’l code to enable your NodeJS app to start sending those emails.
Send email using Nodemailer, Mailgun and Handlebars:
Assuming you have got your NodeJS app up and running and you by now know how to install packages, we are going to next install the awesome packages to enable our app to send those emails out.
Use the following command to simply install all the npm packages at once:
$ npm i -g nodemailer mailgun-js nodemailer-mailgun-transport handlebars
nodemailer: Nodemailer is a module for Node.js applications to allow easy as cake email sending. Today it is the solution most Node.js users turn to by default.
mailgun-js: This is a simple Node.js module for interacting with the Mailgun API.
nodemailer-mailgun-transport: This is a transport layer, meaning it will allow you to send emails using nodemailer, using the Mailgun API instead of the SMTP protocol!
handlebars: This will be used to build HTML templates for our emails.
Create Handlebars Template file:
Now, we need to have a handlebars template file (simple terms an HTML file that will function as the body of our email) and it goes with the extension .hbs
Use the following command to create the handlebars template file:
$ touch template.hbs
Open the newly created template.hbs and add the following code:
<html>
  <head>
    <title>Message HTML Title</title>
  </head>
  <body>
    <div>
      <span style="font-weight: bold;">Message: </span>
      <span>{{message}}</span>
    </div>
  </body>
</html>
The above file represents a basic HTML template with the only thing being different is the {{message}} code. This basically helps you to serve a variable named message with its value when being called within 2 curly braces.
Check out the documentation of handlebars to explore several built-in functionalities.
Send an Email:
Now, the good stuff! We are ready to send an email from our nodejs app.
Create a new file sendMail.js and add the following code in your nodejs app.
const nodemailer = require("nodemailer")
const mg = require("nodemailer-mailgun-transport")
const handlebars = require("handlebars")
const fs = require("fs")
const path = require("path")
const emailTemplateSource = fs.readFileSync(path.join(__dirname, "/template.hbs"), "utf8")

const mailgunAuth = {
  auth: {
    api_key: "{ENTER YOUR API AS-IS KEY FROM MAILGUN PORTAL}",
    domain: "{ENTER THE DOMAIN AS-IS FROM THE MAILGUN PORTAL}"
  }
}

const smtpTransport = nodemailer.createTransport(mg(mailgunAuth))
const template = handlebars.compile(emailTemplateSource)
const htmlToSend = template({message: "Hello World!"})

const mailOptions = {
  from: "sendersemail@example.com",
  to: "recipientsemail@sample.com",
  subject: "Kaushal this works, thank you!",
  attachment: "{LOCATION TO THE FILE THAT NEEDS TO BE ATTACHED}"
  html: htmlToSend
}

smtpTransport.sendMail(mailOptions, function(error, response) {
  if (error) {
    console.log(error)
  } else {
    console.log("Successfully sent email.")
  }
})
Let’s go through what we have in the newly created sendMail.js file.
- We have now imported all the npm packages that had been installed at the beginning of this article.
- We read the handlebars HTML file
template.hbsand store it in a variable calledemailTemplateSource - We now have set up the
api_keyanddomainthat we have extracted from our Mailgun account. Here is how you can extract these values:

Copy the Private API Key and paste it in your sendMail.js file against the variable called api_key
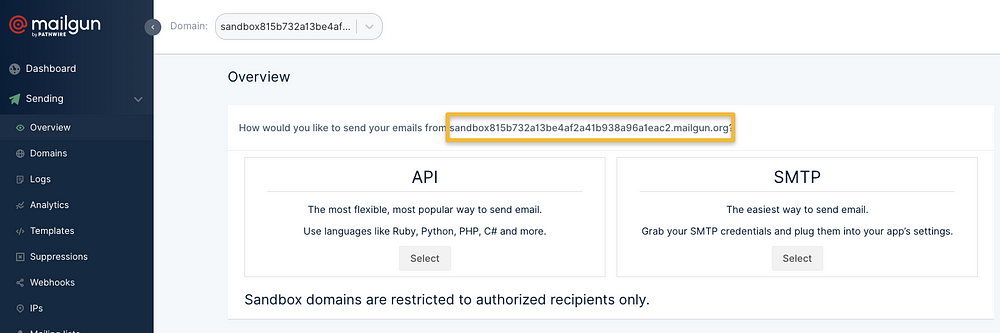
Copy the highlighted domain from your account and paste it in your sendMail.js file against the variable called domain
4. The htmlToSendsends the HTML body with the email.
5. mailOptionsconsists of the senders and the receivers info.
6. Lastly, smtpTransport.sendMail method sends the email.
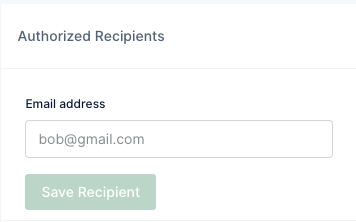
Since we are using the sandbox account for Mailgun, make sure you add your recipient’s email to verify in Mailgun as that is a required property.
Save all the changes and you are all set to send those emails out. Let’s give it a whirl!
Test Email:
Run the following command to send emails:
$ node sendMail.js
Go to the email address you had sent the email to and check for the email. If everything went well you should see an email in your inbox in a few seconds.
Note: If the email does not arrive, double-check your api_keys and domain values from the Mailgun account against the ones you copy-pasted in the nodejs app.
Conclusion:
You now have successfully learnt how to send emails from your NodeJS app using Nodemailer, Mailgun and Handlebars.
Happy Coding!
The original post can be found here.

About Author
Experienced People Manager, Engineer & Tech Evangelist with years of experience developing Softwares and a strong believer in testing ones’ code thoroughly by architecting, designing and developing automated platforms to enable automatic testing via code.
Have delivered products within industry domain namely Media, Retail, Resourcing & IT for both Fortune 500s MNCs and Early Startups. Over the years, have been serving both the Product and Service industries with excellent involvement not just within the development area, but also engaged with more integral management roles to implement newer technologies.